

Mix and Pour XL Products
XL products come in 400 ml cartridges, 850 ml bottles, and cans for large impressions. From a cartridge, you inject with a gun. From bottles and cans, you stir each component, then mix and pour by hand.
With a 400 ml Cartridge
The principle is the same as with a 50 ml cartridge, on a larger scale.
- Mount the 400 ml cartridge on the DM-400 manual dispensing gun or the DB-400 battery dispensing gun.
- Fit a long nozzle on the cartridge.
- Start injecting from the bottom, with the nozzle immersed in the product.
- Come up gradually, keeping the nozzle in contact with the surfaces.
- Place a demolding ring sized for a firm grip. Use larger rings than for a 50 ml impression.
Prepare Bottles and Cans
In bottles and cans, the two components come in two separate containers and you mix them by hand. The materials settle over time, so stir each component before use.
- Stir each component separately, in its own bottle or can.
- Shake the 850 ml bottles hard by turning them upside down several times.
- Use the supplied XL Mixers for cans, one per component, for 30 seconds each, from bottom to top. Never use the same XL Mixer for both components, even after cleaning it.
- Clean the XL Mixers with Essence F after each use.
- Plug with Plastin any hole through which the product could run out of the part.
Mix and Pour
- Pour an equal volume of each component into a mixing container.
- Stir with a spatula or a spoon.
- Scrape the walls and the corners, where the product mixes least.
- Mix for 30 seconds at most.
- Check the color. It must be uniform, with no white left.
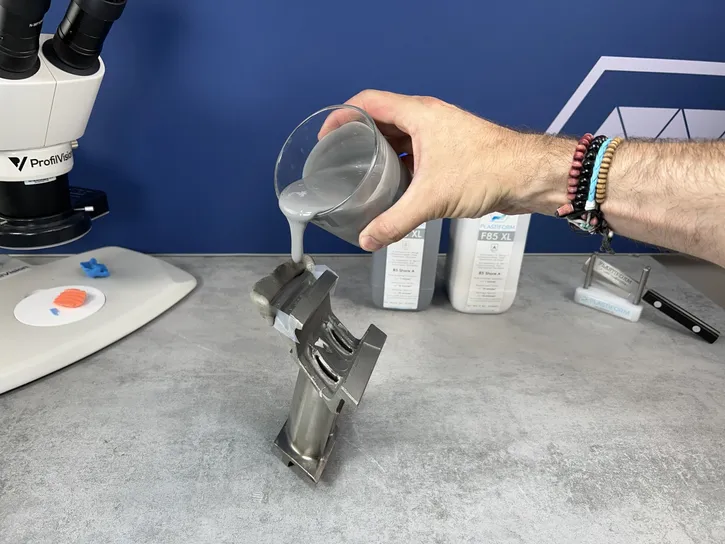
- Pour in a thin stream so the product gets into the details.
- Place a demolding ring to create the grip once the cavity is full, then finish pouring.
Longer Times
XL products have a longer working time than 50 ml cartridges, so you have time to mix properly. Polymerization is longer too. At 23°C, you can remove the impression after 20:00 with F20 XL, 30:00 with F30 XL, 35:00 with F50 XL and 40:00 with F85 XL.
Extract a Large Impression
A large impression takes more force to extract. Think about the extraction before you pour.
- Check polymerization on the film left at the bottom of the mixing container. It should peel off, and you can use the container again.
- Pull straight, never unscrew.
- Make small back-and-forth movements to let air in and help the impression deform.
For a difficult shape, leave a void in the center of the impression, as in the temporary void technique. You can slice some XL impressions with the Double Blade Cutter, and we can make custom cutters for large ones.
