

Inspect an External Thread
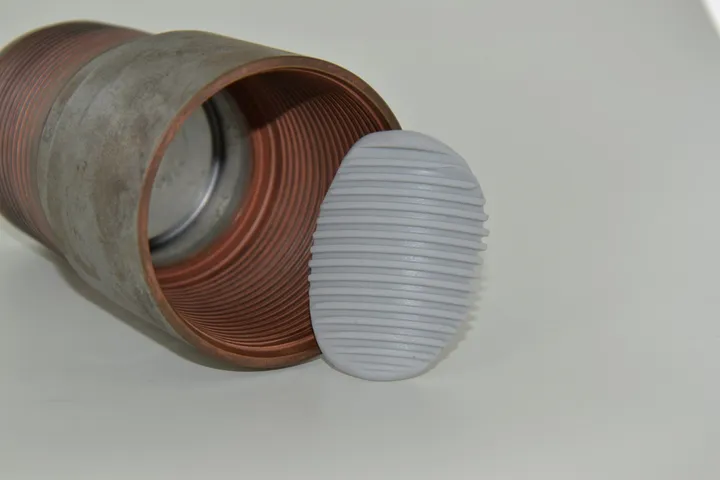
A partial impression over a few pitches is usually enough to read the profile of an external thread. Pull the impression straight off and slice it with the Double Blade Cutter. You can then read the slice on a profile projector or a vision system.
Choosing the product depends on several criteria at once. You need to consider how you apply it, the removal constraint of the zone you cover, whether you slice the impression and how you measure it. Run these criteria through Select the Right Plastiform or the Plastiform Finder.
How to Choose the Product
- For the removal constraint, a partial impression pulled straight off an external thread has little or none. An impression that wraps around the thread, or a thread next to an undercut, has more constraint and calls for a more flexible product.
- To read the profile on a slice, the technical sheet of the product must state that it is compatible with the Double Blade Cutter.
- Measurement on a slice is done without contact. Contact measurement needs a Rigid product and a zero removal constraint.
- For application, a Manual Putty is applied by hand without a dispensing gun, which is fast on a series of parts. A Pasty product is applied with the dispensing gun and stays in place on the surface without running.
- For resolution, Fluid and Pasty products reproduce details down to 1 µm, while Manual Putty products reproduce details down to 10 µm.
Two Products That Often Fit
- M70 is a Medium (70 Shore A) Manual Putty. It accepts a removal constraint of 5% at most and is compatible with the Double Blade Cutter. Its technical sheet recommends it for simple external shapes and partial impressions.
- P35 is a Flexible (35 Shore A) Pasty product. It accepts a removal constraint of 20% at most and is compatible with the Double Blade Cutter.
These two products are examples, and other products in the range can fit depending on the criteria above.
Step by Step with a Manual Putty
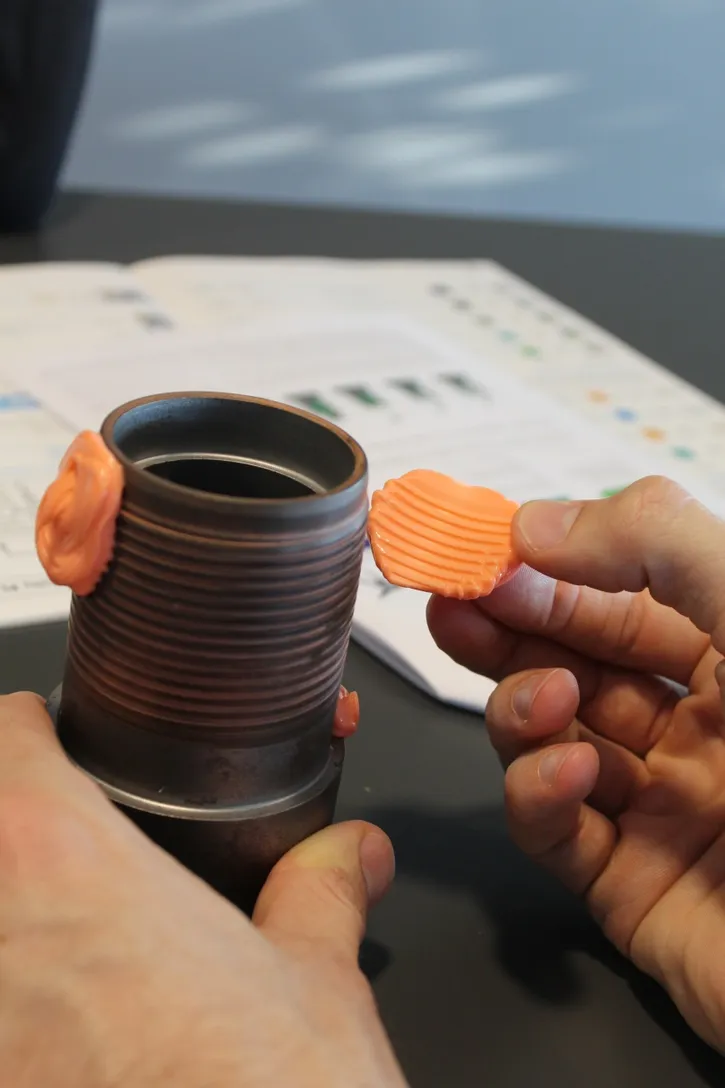
The times below are those of M70, taken as an example, so read the technical sheet of the product you use.
- Degrease the thread with DN1 and wipe it with a clean microfiber until dry.
- Take equal amounts of the two components with the dedicated spoons, using one spoon per component.
- Mix the components in your fingers for 20 seconds at most, until the color is uniform.
- Press the putty onto the thread over a few pitches, firmly enough to fill the bottom of the threads. The working time of M70 is 1 minute at 23°C.
- Wait 5 minutes at 23°C before removing the impression.
- Pull the impression straight off the thread, never along the helix.
- Wait until polymerization is complete, 8 minutes after mixing at 23°C, before you cut or measure.

Read the Profile
The impression is a negative of the part, meaning the crests of the thread are the roots of the impression and the reverse. Its dimensions are the same, with no correction factor.
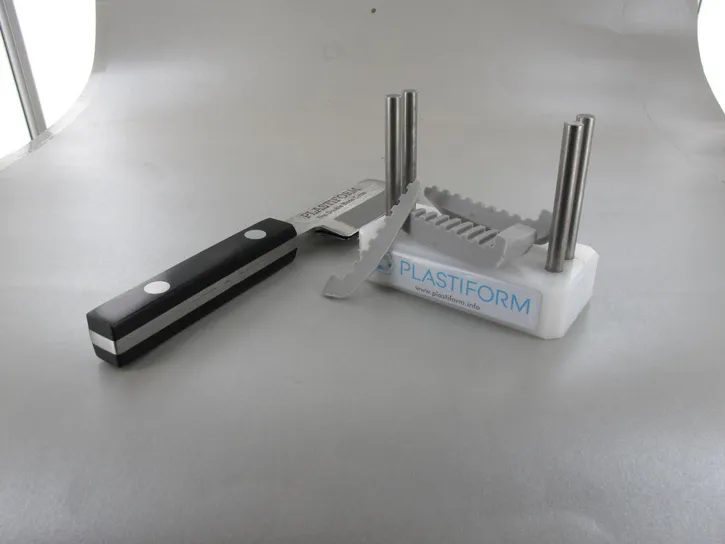
Cut a slice through the axis of the thread with the Double Blade Cutter. You can then read the pitch, the flank angle and the root radius of the slice on a profile projector or a vision system.
Internal Threads Are Different
An internal thread traps the impression, so it usually needs a complete impression with a Flexible product. We detail this method in the article on internal threads.
Related Pages
- Inspect an Internal Thread

- Take a Partial Impression
- Apply a Manual Putty
- Slice an Impression with the Double Blade Cutter
- Read an Impression: A Negative of the Part