How to measure Plastiform impressions?
Non-contact measurement methods

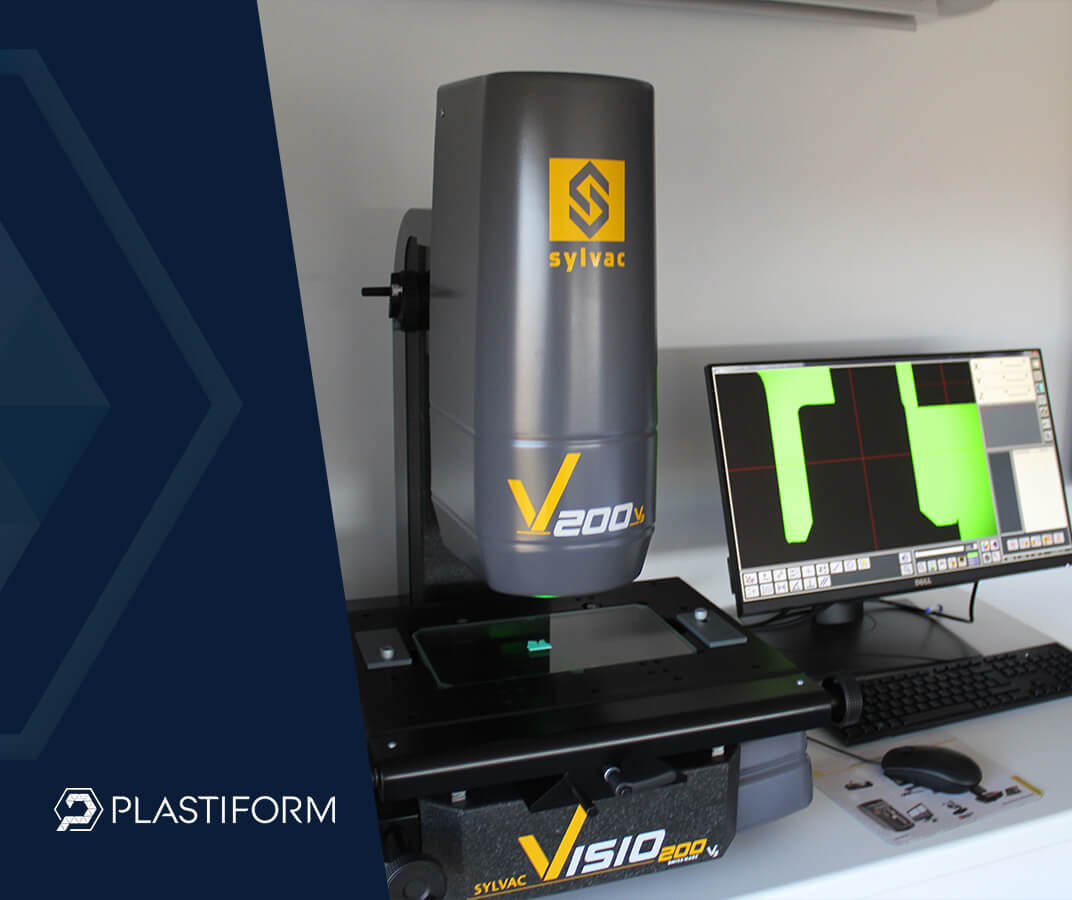
Optical control
The best way to verify the dimensions of an impression made with a plastiform is to use a non-contact measurement procedure.
Indeed, most impressions being flexible or soft, contact processes will tend to deform the impression (more or less depending on the tool) during contact.
In order to achieve maximum accuracy in your measurements, it is therefore necessary to use an optical inspection tool. Measuring with an optical tool will ensure that the impression will not move at any time, and therefore, that its dimensions will remain unchanged during the inspection.
We recommend the use of a profile projector, vision system or scanning system to make the most of Plastiform dimensional impressions.
Checking an impression cross-section
To facilitate the control of the dimensional impression profile, it is sometimes recommended to cut the replica in order to obtain a flat surface. In this way, a cross-sectional area of the impression (its profile) is projected in 2D. This allows measurements to be taken without focusing or positioning the impression.
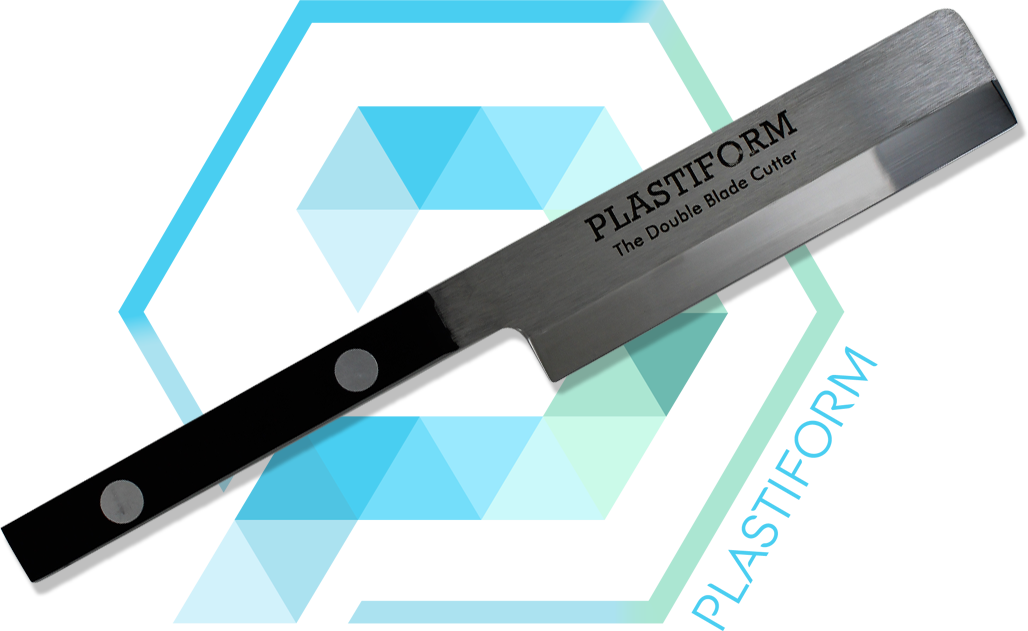
To create a slice on a plastiform impression, simply use the Double Blade Cutter, a tool specially designed by Plastiform for this mission. By cutting the replica in its axis, you will obtain a flat cross-section that you can easily analyze on a profile projector or vision system.
Since plastiforms always return to their original shape after deformation, you do not risk distorting the results.

Discover the Double Blade Cutter
The Double Blade Cutter allows you to cut a profile within a semi-flexible replica to measure the impressions on a profile projector or digital vision system with optimal accuracy. This tool can also be forged to measure for your specific needs.
Contact measurement methods
Direct control
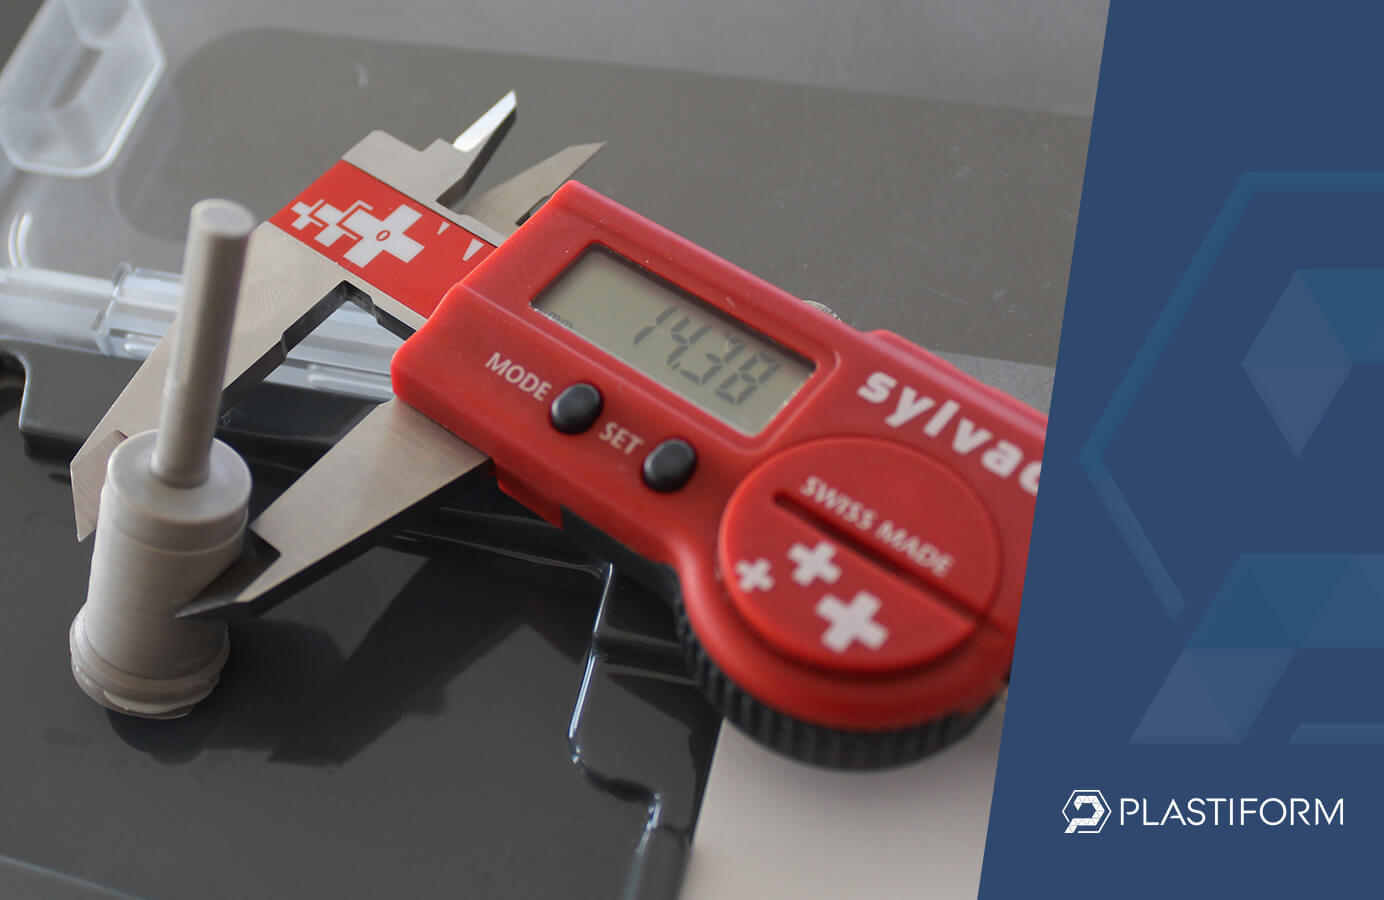
If you do not have the possibility to measure the replica using a non-contact machine, it is possible to use contact measuring tools. Depending on the precision you are looking for, you will have to adapt the choice of product :
- If you are looking for optimal accuracy, you should use products with a rigid or a very rigid final consistency, so that the impression of the part is not deform when in contact with the measuring instrument.
- If you are looking for relative accuracy, you can use any product, taking care not to exert too much pressure on the impression. This type of pressure could distort the replica and distort the results.
In the second case, you can use a caliper with constant measuring pressure to facilitate the operation. These instruments are specially designed to measure plastic parts that could deform on contact with the instrument.
However, it is very important to note that using a rigid plastiform is sometimes impossible. Some part shapes prohibit the use of a rigid impression, otherwise it may not be possible to extract it. Make sure that the form to be copied does not have undercuts or re-entrant angles, and do not hesitate to contact our experts in case of doubt.


